I thought I’d share a couple of other little things before I give out the instructions for the next block but, if you’re in a hurry, just scroll down and come back up here when you have a chance. I took a workshop last Friday with Susan Cleveland called Piping Hot Binding. It was wonderful! Susan is the real deal. She is the kind of person you’d want for a best friend. Not only that, I think almost every single person in the class came really close to completing the project IN CLASS! I’m about 90% done and that has never happened to me before. I have about a dozen tubs of UFO’s from workshops I’ve taken. But, this one I will finish, and soon. Check her out. And, if you get a chance to take one of her classes do so.
 I also finished the graduation quilt for my niece and will bring it to her soon. She starts college at the end of the month. I’m glad I have some time to show it around a little bit before handing it off! And, yes, those are super-sized Hexies. I hope she loves it.
Now for the August block. It’s called Indian. And, I also made a variation of it called Indian Star. If you have in your layer cake a square with a motif you’d like to highlight then this block will do that for you. There is a 4” finished square in the middle so you can fussy cut something for it if you want to. I just used a pretty print.
Let's cut the pieces for it:
 From the Light print cut
(1) 4 1/2" square, fussy cut if desired
(4) 2 7/8" squares
(2) 2 1/2" squares
From the Dark print cut:
(4) 2 7/8" squares
(2) 2 1/2" squares
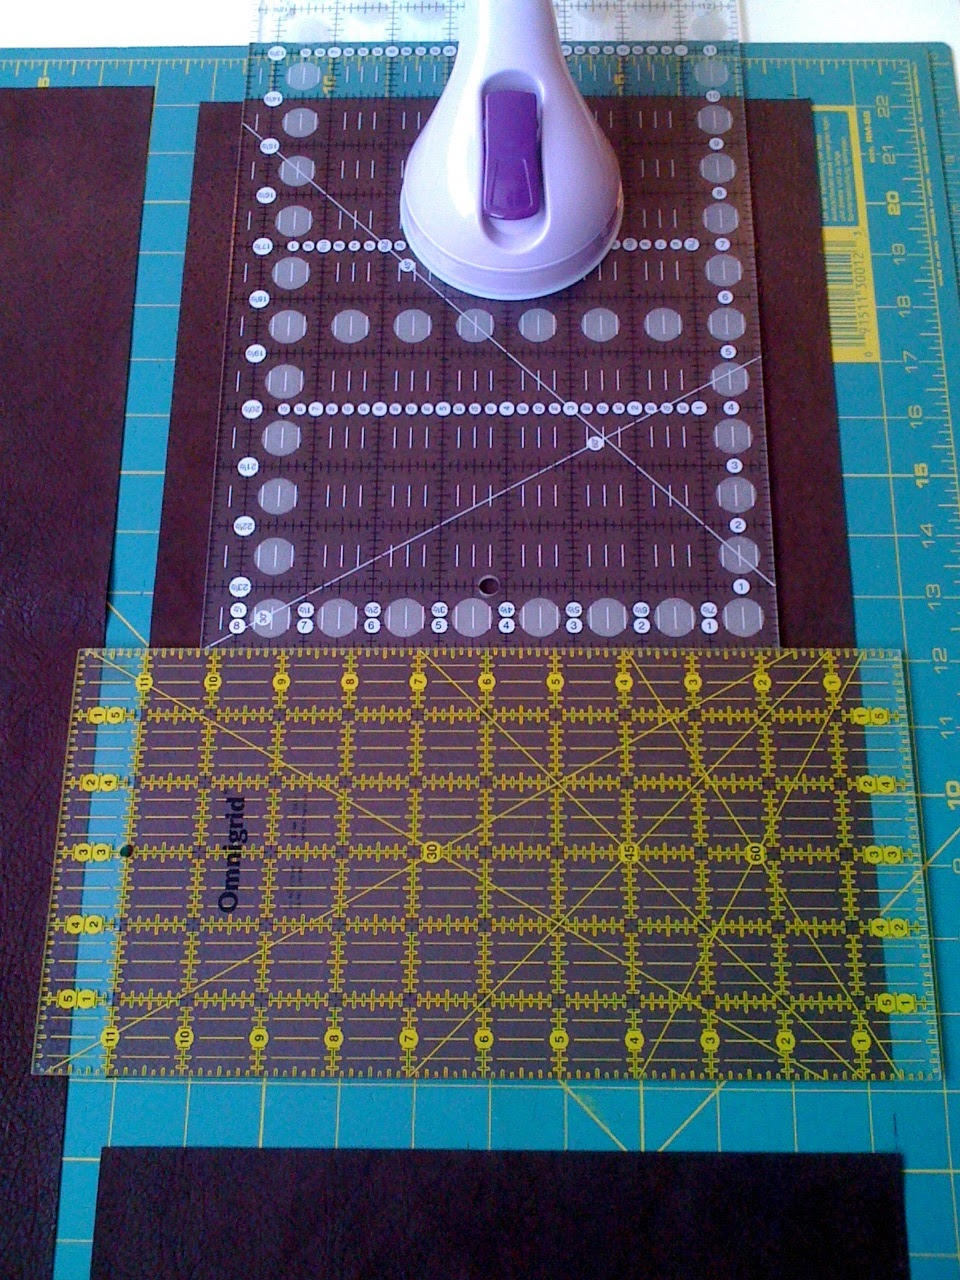
 Next, using my Quick Quarter Tool by Quilter's Rule, I draw a diagonal cutting line and sewing lines on the wrong side of the 4 light squares.
Pair each light square with a dark square of the same size and sew on the outside lines. Remember some of your pieces will have a pinked edge. Here is how I line them up. You can see the dark print showing beneath the pinked edge. Here is a super close up of sewing just towards center of the drawn line. If you have had trouble with your units coming out to small adjusting your seam allowance like this may help. Doing this allows for the thickness of the thread. Sometimes a tiny adjustment like this makes all the difference!
 Cut them apart on the center line to yield 8 half square triangle units. Open and press the seam allowance towards the darker fabric. They should measure 2 1/2" square. Trim, if needed.
  Lay out all the pieces like this: Pay attention to the direction of the triangle units. Dark is always next to light and vice versa.
  Sew the triangle units together in pairs. They should each measure 4 1/2" by 2 1/2". It's easy to let your seam allowance change and then you end up with your pieces ruffling or skewed. Sew straight in and straight out of the seam.
  Add the squares to the top and bottom row pressing away from the center. Sew triangle pairs on to the sides of the center square and press towards the center. Three rows complete. Now sew the top row onto the center row and press towards the center. Repeat to sew the bottom row on. Your block is complete!
 Here are my other sizes and variations: You can use a third print for the center square or, you can put a four-patch in the center and turn the triangle units to look like a star (you'll use the same number of triangles) or, you can make it scrappy and 4 different lights and 4 different darks for the triangles. When I did this I cut the squares in half on the diagonal before sewing them so I could mix them up even more. Just be gentle with the bias edge.
Four a 4" finished block:
The center square is cut at 2 1/2". The corner squares (all dark this time) are cut at 1 1/2". The squares for the triangle units are cut at 1 7/8". If you want a four patch in the center instead of a plain square cut 2 light squares and 2 dark squares the same size as the corner squares 1 1/2".
For a 2" finished block:
The center square is cut at 1 1/2". The corner squares are cut at 1". Cut the triangle squares (4) light and (4) dark at 1 1/2" and trim them up to 1". (They're easier to work with if you start out a little bigger and trim them.)
Thanks for visiting! Hope you enjoy the rest of your day!